Sunday, January 8, 2012

Day Nine: Recycled Fairy LIghts

Aha! Finally I get to do a project involving the partial namesake of my blog. Alright, so still working on that paper, still freaking out. I had these lights left over from Christmas, and I have right now over 100 egg cartons, so I decided to do something with both. Okay, I bet you're wondering why I have so many freaking egg cartons in my room. Well...my mom buys these special, free range, organic eggs that come in fancy plastic cartons which seal shut completely, making them perfect for preserving paint between painting sessions. So, I asked her to please save me her cartons. She went to her work and wrote in their break room on a huge white erase board for everyone to save their cartons and give them to me. Incredibly sweet, I know. Unfortunately, no one at her work also gets the eggs in the perfect plastic cartons, so I have a bedroom full of the styrofoam ones I don't need and not the heart to say no to them. This was a good way for me to get some use out of them, finally. Thank you, to all of those generous ladies who made this DIY possible. :)

Alright, so start out by gathering materials. This includes egg cartons (I found it's better to cut up too many than to not have enough), some scrap lace, and of course, fairy lights.
Saw off the bottoms of the cartons and use a sharp instrument to poke a hole in the bottom large enough for your light to fit through. DON'T put it on the light yet.
Cut two squares of scrap lace big enough to fit over the egg carton bottoms. I believe mine are 1.5 inches. Maybe two.
Make a circle of hot glue around the hole on the bottom of the egg carton bottom. This should be able to hold both scraps of lace in place.
Use scissors to make a hole in the lace over the hole in the egg carton bottom, once the glue has hardened.
Slip over fairy light and glue in place.
Repeat process for as many fairy lights as you have. Maintain patience.

Viola! Done.
Posted by Picasa

Saturday, January 7, 2012

Day Eight: My Own Spray paint Recipe


No, your eyes do not deceive you! I really did make my own spray paint! My computer keeps correcting me because I want to make spray paint one word! Ah! So....this came about because I was incredibly bored and had a ton of paint. And I have a huge essay of which five drafts are due Tuesday, but working on it makes me want to vomit. I promise to do so once I am done here, though. I didn't realize that my advanced literature class was going to be so stressful. Work, I anticipated. Difficulty, I also expected. But for some reason, I never expected stress. This was a fun way to detox my brain and allow myself to stop freaking out about it long enough to get back to working on it!

Alright, so first, mix a color. Any color. Use acrylic paint.
Take a small spray bottle and fill it with water. Add the paint in small increments. Have a piece of paper or some paper towel to test your paint on.
If your paint is thinner, it will work better on clothes. If your paint is thicker, it will work better on hard surfaces.
Once you have your paint, go wild!

Viola! Done.

Friday, January 6, 2012

Hipster-isms.

I wrote this for a newspaper article. It is not supposed to be offensive in any way, it's just supposed to poke fun at little things that we all are guilty of at least one of, and yes, that includes me. :) I hope you enjoy this. 

Necessary Components of a Hipster Look:

For girls:
1. The huge glasses: how else would you possibly be able to see all the mainstream conformists trying to oppress your individuality??
2. The quilted bag: buying a bag from a store is such a bourgeois concept, but buying a bag that looks like you made it yourself is just so cool. Plus, it's big enough to fit all that intellectual literature you never actually read. 
3. The short short cut offs: to show your rebellion against the government and their communist idea that everyone should wear pants!
4. The not -actually-functional scarf: it doesn't need to keep you warm to be a statement against modern society. 
5. The I Heart [insert city here] shirt: you've never actually been there, but people will think you have, and hey, it's the thought that counts. 
6. The boyfriend button-down shirt: except...you don't actually have a boyfriend, so you went out and bought it yourself. Whoo!
7. The Converse low-tops: everyone else thought they were lame, so now that automatically makes them cool, even though you hated them too. 
8. The mustache: you can't actually grow one, so that obviously means you need to have the image of one on your body at all times. 
9. The oversized tee that hangs off your shoulders: because buying clothing that fits is just so small-minded. 
10. The crop-top: show them how you have more "awesome" in your belly button than they have in their conformist lives. 

For Guys: 
1. The moccasins: so everyone will be able to see your pride in the Native American heritage you don't actually have. 
2. The skinny jeans: to show off the girlish figure you worked so hard for. 
3. The Baja hoodie: how else would you show the world that you'd rather be herding your alpacas than being oppressed by their oppression? 
4.The beanie: to squeeze your brain hard enough so that the knowledge will stay inside. Washington wouldn't be as out of touch if all politicians wore these. 
5. The studded belt: to fend off attacks from mainstream zombies. 
6. The guyliner: guyliner, not eyeliner, because after all, it totally has a different purpose when worn by men. 
7.The rope jewelry: because when you were a young boy, your father always told you to treasure all of the twine he gave you, because someday he wouldn't be there to give you any more twine, and so you totally went out and bought that necklace and bracelet set in the store. 
8. The Lennon glasses: you still think he came from Def Leppard. 

For boys and girls:
1. The dark sunglasses worn indoors: after all, so many people will discriminate against you on the basis of eye color. 
2. The coffee cup: you don't actually drink coffee, and sometimes it doesn't even have anything in it, but you still pretend to drink out of it. 
3. The walkman: no one has to know you have your Ipod hidden inside it. 
4. The Chaplin-esque bowler hat: Oh yeah, you love Charlie Chaplin! And all 0 of his movies that you've actually seen. 
5. The Grandma/Grandpa reject sweater: if it's not trendy enough for a nursing home, then it's definitely good enough for you. 
6. The animal jewelry: because since the fish's alleged suicide, your parents won't let you have any real pets. 
7. The ski hat with the pom poms: to keep off conformity and snow in all seasons! Especially summer!

Day 7: Giant Flower Headband

Ahhhh...okay, so today I had a mad stroke of bad/good luck! Due to the fact that I am so horrifically behind on my yearbook spread, I got to take the newspaper camera for one night to go to a Magic tourney at the coffee shop down town. For those who don't know, Magic is a card game, which everyone used to play, but no one really does now. Not at my school, at least. So I've been going for the past x-amount of weeks, and I've only gotten pics of a total of 4 people from our school. Tonight is my last chance to get actual pictures of players, otherwise my spread won't be relevant enough to run in the book. But that drama aside, I got to take pictures with a nice camera again! Yay! I only had half an hour to make this headband, and I might replace the giant ass flower with something else later, but for now, I'm really happy with it.

First I took a headband with sequins and feathers all over it and removed all of those elements. It was one that a friend gave to me when I was a freshman four years ago.
Then, I measured the ribbon so that it would for sure fit onto the headband. I used two different types of ribbon, a really pretty silver one and the lace that I got from my last Goodwill haul.
I used liberal glue to attach the silver ribbon, but small amounts spread thin to attach the lace ribbon. I actually only attached it in three places.
Then I glued on the flower, which came off of a hat. It's quite large, I know.

Viola! Done.
Posted by Picasa

Thursday, January 5, 2012

Day Six: Button Earrings

Alright, so I had another migraine day today. I did another really simple DIY to make up for it. I'd had the buttons for, like, ever, and I hadn't found a use for them until now. My friend gave me a hair clip with a similar design a few months ago, and I loved it but could never wear it because of my hair style. These I can wear everyday.

So, I had these Winnie the Pooh earrings that a friend had given me for use. I took my wire cutters and used them to trim the earrings down to size.
After trimming the earrings, I used pliers to rip out the backings of the buttons. I had to scrape it out with the pliers.
I double checked to make sure that the earrings would fit on the earrings smoothly and filed them down a little more.
I just hot glued what remained of the Winnie the Pooh earring to the button.

Viola! Done.
Posted by Picasa

Wednesday, January 4, 2012

Day Five: Cosmic Bow

Alright, so sadly, I had to give the fancy newspaper camera back, so I'm stuck using my old Fujifilm. This looks really really cool in real life...as soon as I get to borrow the newspaper camera again, I will post a better picture. It was so fun to make, although halfway through I had to throw Nigel out of the room because as soon as I turned my back, he stepped in the paint and walked all over my favorite coat. :( He's such a naughty kitty! It reminds me of how he once stepped on my toast when he was a baby.

Alright, so I already had a black bow at my disposal. I got it at the Dollar General for two dollars, I think. Either way, you can find one cheap almost anywhere if you don't already have one.
I mixed a pastel purple paint (it looks blue, I know).
Then, I used a medium-sized brush to gently make strokes of sparse paint on the bow. I made sure to get both tiers of it. I did the same thing to the headband it was on.
I used the back of the brush to dab on tiny dots of white paint to be the "stars."
My mom wanted me to model it right away, but the paint was still wet! I used acryllic for the main purple pastel, but the stars are made from fabric paint.
Posted by Picasa

Tuesday, January 3, 2012

Day Four: Wire Wrapped Nail Polish Pendant

Alright, so this one I actually finished around three in the morning when I couldn't sleep. I made it for a friend of mine who absolutely loves nail polish jewelry. I'd tried making nail polish jewelry before, but had failed miserably because I experimented by mixing polish with hot glue. Never do that. It doesn't turn out well.

I took a clear stone and painted the back of it with several alternating coats of two different colors of polish.
I wrapped it with wire, pretty self explanatory. I left one side a little loose, so that I could twist it to make a loop.
I made the loop with needle nose pliers and made sure to make it accessible to the chain I put it on for my friend.

Viola! Done!

Monday, January 2, 2012

Day Three: Daisy Headband


So...I had a killer migraine after I got home from Goodwill, but I wasn't about to let that stop me from posting a DIY today. This project was super simple, I know, but hopefully that just means that more people will try to replicate it. :)
Oh, and one more thing...in the picture where I'm modeling it, my hair isn't greasy, it's wet. I'd just taken a shower.

You might recognize the ribbon as being the stuff that I got today as part of my Goodwill haul. I really love lace, and it's really pretty. The silk flowers were some I got for Christmas. My entire Christmas list this year was craft supplies.

First, I took an old headband and glued the lace ribbon to it. I made certain to use small dabs of glue spread thinly, so that it wouldn't be as noticeable. If you do this project, remember to glue down the ends. They're easy to forget.
After I glued down all of my ribbon, I took three silk daisies and glued them on as well, putting the first one in the exact middle of the headband and the other two equally spaced on either side.

Viola! Done.

Goodwill Haul!!!

Today I took a trip to a thrift store with one item in mind: a wooden box to use in one of my DIY projects. Well, the cheapest one I could find was still WAY too overpriced, so instead of walking out with a box, I walked out with a bunch of other goodies. Total amount spent: $9.64.
 Alright, so this hat has to be worn in order for it to be fully appreciated. It's washable, which is another plus, because I have the tendency to get food in my hair when I eat. Don't ask me how, because I still haven't found out how I do it.
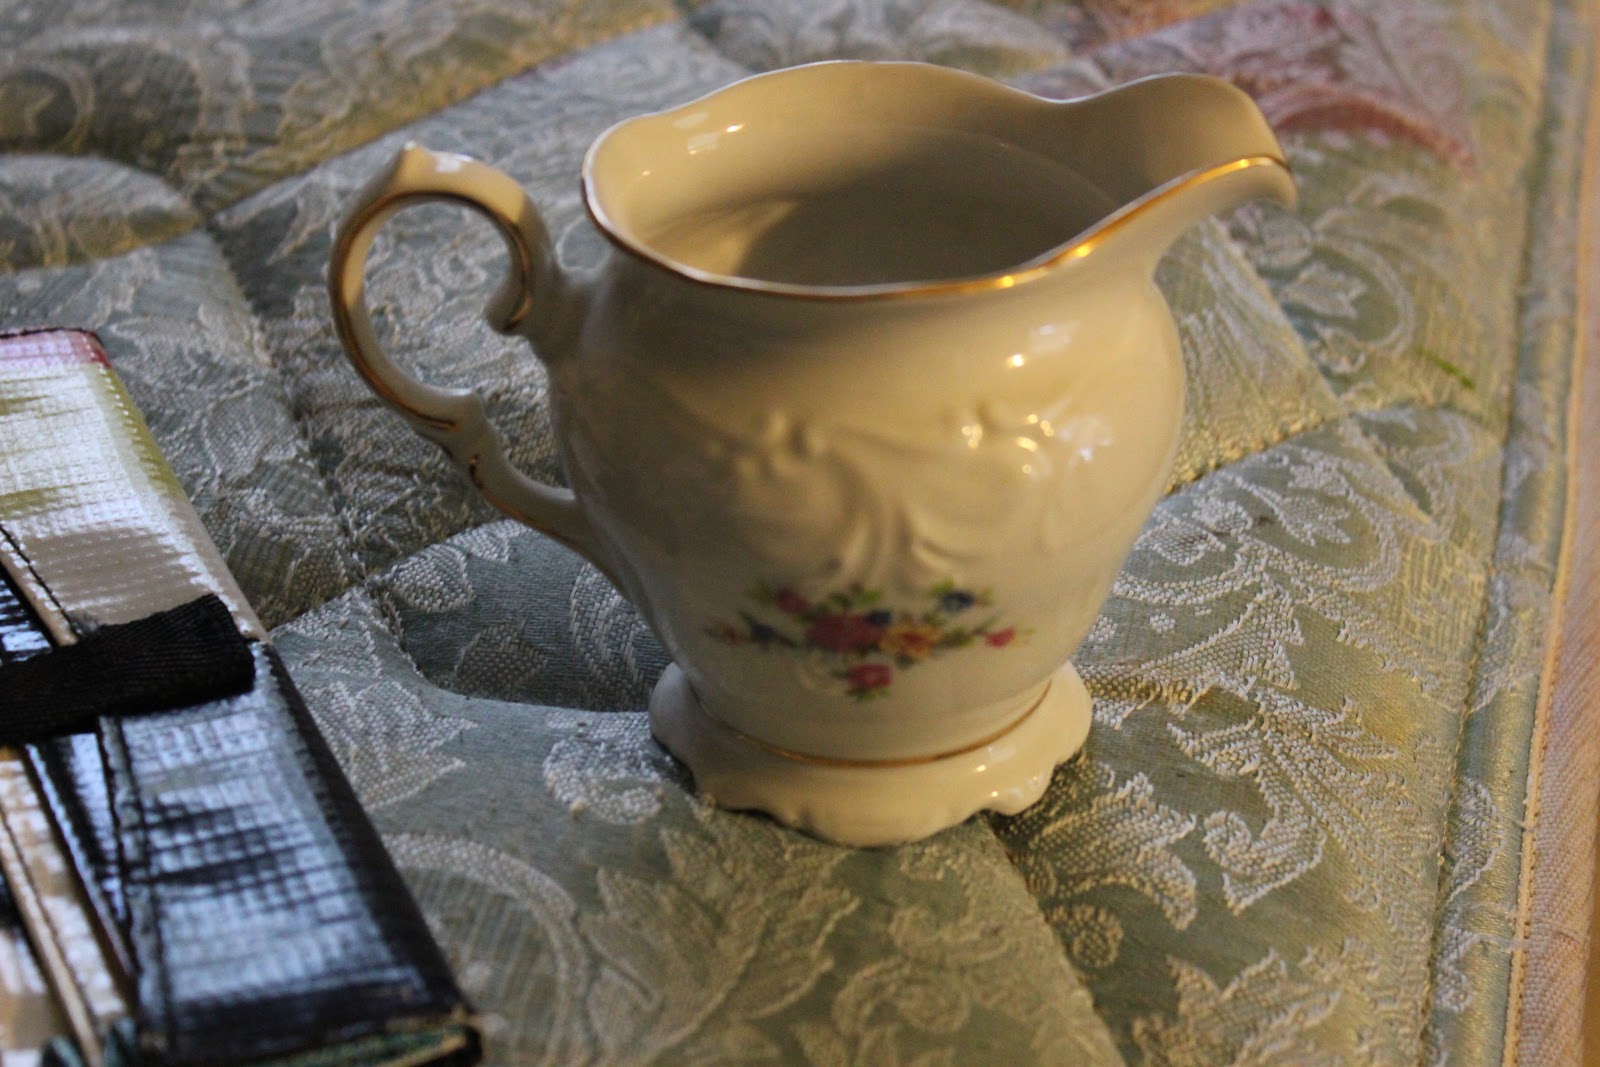
 I have a friend who is currently visiting Paris, and she collects pieces of tea sets, so I picked this up for her as part of her "Welcome Home" present.
 This is some lovely wine-colored lace ribbon. I figured I might as well get one thing to use in a DIY, if I didn't get the box. And what's better than lace???
Speaking of lace, this dress. It's perfect. I was going to use this in a DIY as well, but when I tried it on, I fell in love with it, so it's staying as is. It goes down to about mid thigh, so it's a liiiiiiiittle bit short. But hey, I'm game. :)

Sunday, January 1, 2012

Day Two: Alice in Wonderland Purse

Alright, since I was so antsy that I couldn't wait for the new year to begin my 365 project, I am adding this purse as my project for the day.

Completely inspired by Alice in Wonderland, it, just like the project featured before it, is my idea, and my own process.

First, I took a purse that was NOT white and painted it white with several layers of fabric paint.
After they were all dry, I glued on the bow, which I took from an old tank top that I'd never worn. I made sure to use the glue to glue the bow open, so it looked much nicer. :)
After the bow was set, I started glueing on rhinestones at random.
Next came the chain handle. This also is glued on, although if one was to desire more security, I guess they could sew it too. I added strips of fabric, threaded through the bottom loop of chain to keep it in place, and glued more fabric over that, just for reinforcing.
Viola! Day two complete.
Posted by Picasa