Tuesday, January 31, 2012

Day Thirty One: Funyon Keychain

Today I got information for scholarships I'm going to apply for, so I'm excited to start doing that tomorrow. I really have no idea what I'm going into, but I want to apply for whichever ones I can get. I'm even willing to make myself go legally blind, if I can do so before the deadline. Just kidding. Maybe.
I found this tutorial on Cut Out and Keep, it's by Tatty Divine. I didn't follow the tutorial at all, I just took the idea and went with it. You can find her AMAZING original and her tutorial at www.cutoutandkeep.net/projects/crisp-packet-necklace

So, I got a bag of Funyons out of the vending machine at school and ate them for lunch.
Once I got home, I preheated my oven to 350 and lined a tray with tin foil. I put the bag on the tray.
Every few minutes, when it began to curl, I flipped it.
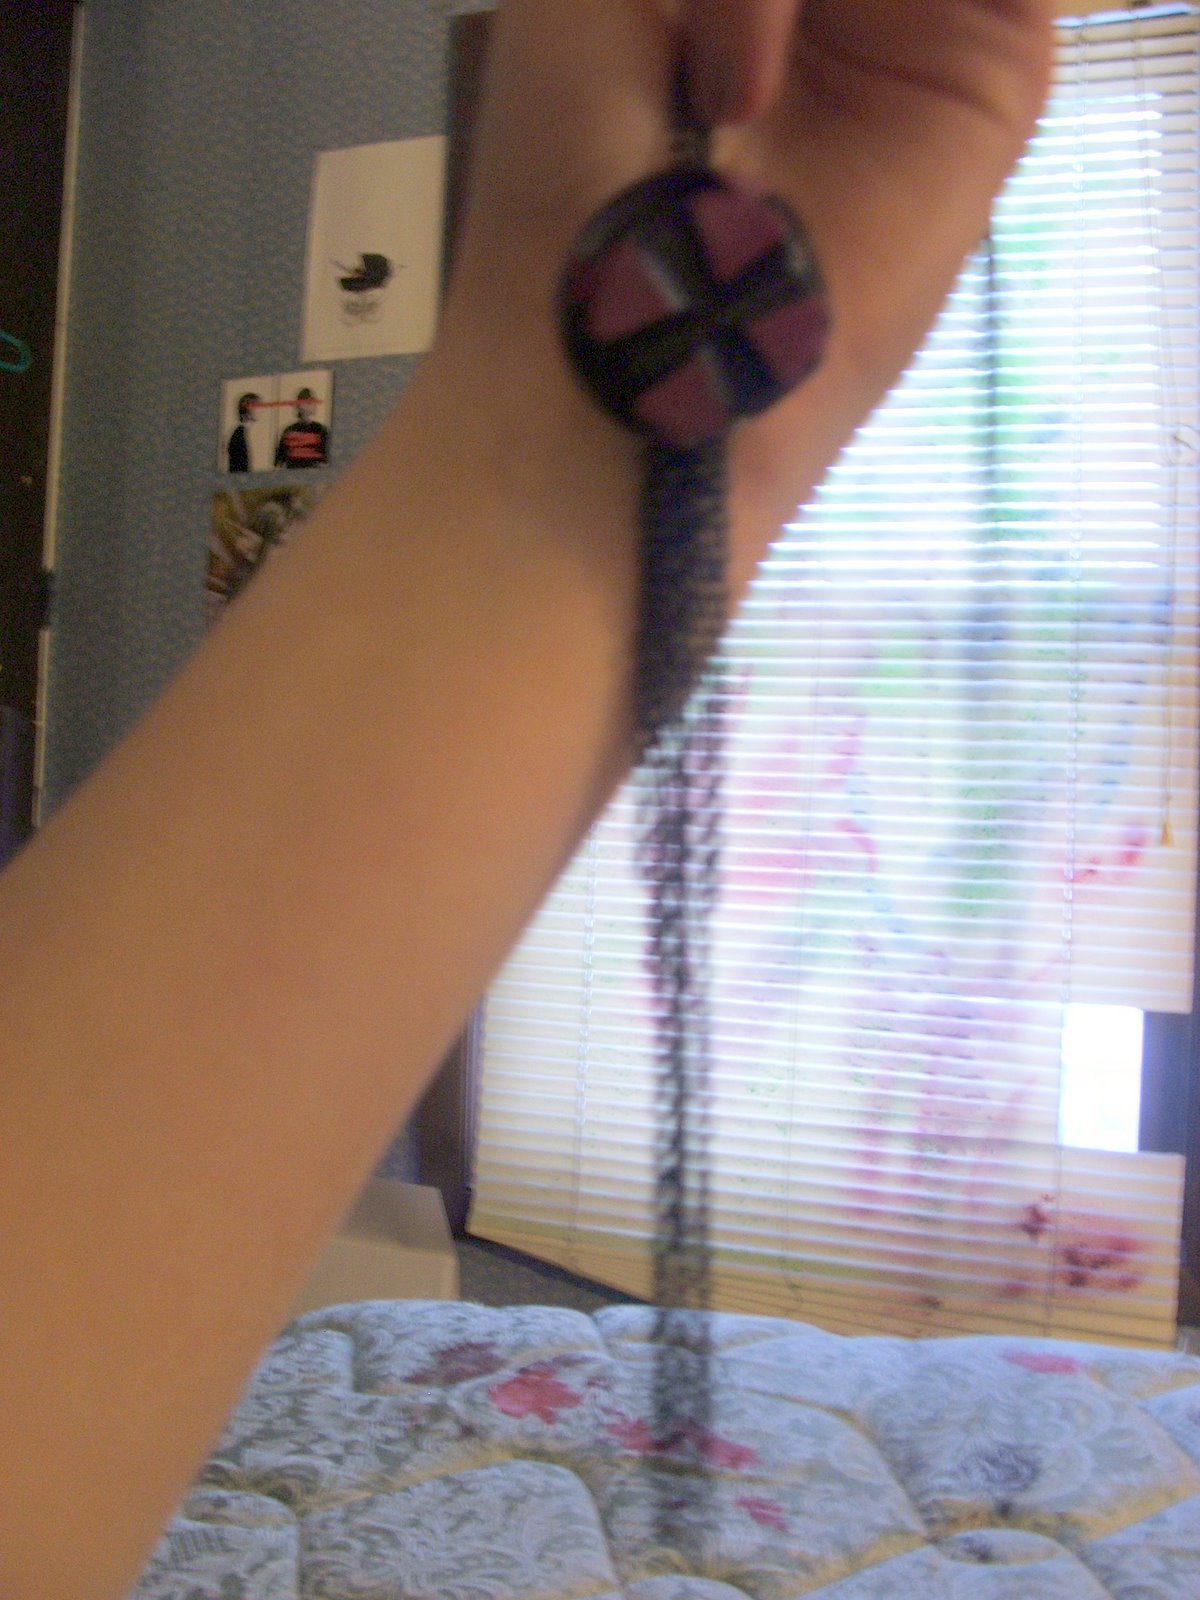
After taking it out of the oven, I let it cool. I used a knife to poke a hole in the corner, then put a jump ring through it. I put the chain on the jump as well.
I threaded it through the keychain.

Viola! Done.
Posted by Picasa

Monday, January 30, 2012

Book Box Update

I promised it, didn't I? Here it is, all dried and finished and filled with all my odds and bobs. Even though it doesn't look as pretty and clean as my others, this might be my favorite project that I've done thus far, just because the book I used had been sitting on a shelf for a very long time. It was such an old book, actually, that I couldn't even read it because all the pages cracked and started to break out of it. In fact, as I was cutting out my shape in the pages, and when I was applying modge podge to them, they were shedding flakes of print. Case in point, see picture.
I love it so. :)
Posted by Picasa

Day Thirty: Candy Box Mirror

My boyfriend gave me a box of chocolates, and my friends keep giving me things to use in my DIY projects. That is how I got the materials for this project: sheer generosity. I thank all of those wonderful people.
So...my weekend really sucked. My dog pissed all over everything on Saturday. He's really old, so he doesn't really hold stuff in his bladder (way too much information, I know) because he doesn't really want to anymore. I don't have a washing machine in my house, so I had to borrow my mom's coat and boots. On Sunday I posted a Facebook status about how annoying it is when my newsfeed fills up with people taking pictures of themselves. Some girl that I met once, about a year ago, and have had no interaction with since, freaked out all over it and reported me as a cyberbully and claimed my status was a hate crime. I got an official message from Facebook admins that my account isn't deleted yet, but it's under review. Fun fun.
At least I had daily DIYs to brighten my dreary days. :) Thanks to all my craft projects for keeping me sane.

Alright, so I took the top of a candy box, traced it onto my bird fabric, and cut out the heart shape.
I used liberal amounts of Modge Podge to attach the fabric inside the frame.
The mirror was a gift from a friend, which I hot glued into the frame.
I used old, lace trim to embellish it further.
Because I was unable to make actual holes without making them messy, I hot glued the hanger on the back.
Viola! Done.

Now everyone go out into the world and smile.
Posted by Picasa

Sunday, January 29, 2012

Day Twenty Nine: Hard Cover Organizer

You probably think I hate books or something, because my last three projects have all been books. Actually, I read so many of them, I don't really have room for them all, and I figured: "Why not use some of them in a DIY?" Or two. Or three.

Okay, so I started out by cutting all of the pages out with an exacto knife, while being careful to not damage the structural integrity of the book's cover.
After this, I took my agenda, which is my organizer for school, and glued it into the cover using a line of hot glue up the inside of the books spine.
I shut it and pressed on the spine from the outside until the warmth of the glue became faint. I'm a worry wart, so I also put two dots of glue on the inside cover to help hold it in.
After this, I also glued a piece of ribbon inside the spine to mark my page with.

Viola! Done.
Posted by Picasa

Saturday, January 28, 2012

Day Twenty Eight: Book Bag

I've been wanting to do this since I saw an Alice in Wonderland book made into a purse on Etsy. Sadly, though, I was unable to get my hands on a cute hardcover, so I had to settle for an ugly hardcover book, which I revamped. It's about six inches wide, nowhere near as large as the picture makes it look.

First, I cut all of the pages out of a hardcover book with an exacto knife, being very careful not to puncture the cover.
After this was done, I found a cute, floral fabric and used modge podge to attach it to the then-ugly hardcover. I did so in three parts, I cut separate pieces for each cover and the spine.
When securing the edges of the fabric to the inside of the empty cover, I used hot glue. Simple as that.
Once all of the modge podge was dry, I attached decorations. Mine were the owl and a silver ribbon.
For the side pieces, I just measured them to fit. I hot glued the edges down, then went back with my hot glue gun and touched up the parts that were visible, to make it look like more of a seam. I also hemmed it with the hot glue, but this was before I forgot to hem the fabric before I attached it as the sides. (My fabric was the same owl fabric that my big guy came from)
The strap was also glued in. I glued it to the sides, and I made sure to put the glue on a full two inches of my ribbon strap, and after they were both glued in, I glued in other pieces of ribbon over them to reinforce them.

Viola! Done.
Posted by Picasa

Friday, January 27, 2012

Day Twenty Seven: Book Box

I got this idea while cruising Etsy around 1 in the morning. Sorry the picture is so bad, the modgepodge I used was still drying, and I couldn't wait to post this one! I worked so hard on it! The front of the book is really beautiful, too. It's red and has a picture of another book with angel's wings.
Keep in mind, I realize that I still have to touch up the edges, but I was at a concert until late tonight, so I had little time to prep it before I had to post it. I'll post updated pictures later, I promise.

Alright, so I started out by borrowing an exacto knife from my wonderful art teacher.
Next, I used said knife to carefully cut a rectangle in the front page of the book. I cut it as deep as I possibly could, then gently lifted up the cut pages to pop the cut portion out.
You have to be fairly gentle, because the edges tear.
After I had cut all of the pages out of the book, I used modge podge on the edges to keep them together.
While allowing it to dry, I imagined all of the things I was going to keep in it.

Viola! Done.
Posted by Picasa

Thursday, January 26, 2012

Day Twenty Six: Wire Bows

I made several of these. I am hoping to use them in rings and statement necklaces. There really isn't a process to making them, you can pretty much see how by looking at them, but even so, I'll describe it.
First, cut a long-ish length of wire. Bend it over twice, so that there are two bends that trail excess. One of the excesses should be a lot longer than the other. This one should be wrapped around the place where the two bends overlap. Wrap tightly, so that they get pulled together, and the bends become the two loops of the bow.
Posted by Picasa

Wednesday, January 25, 2012

Day Twenty Five: Adjustable Ribbon Bracelet.

I spent most of tonight with my brother, going out to dinner, so I only had time to do a quick DIY. It's pretty simple, just make an adjustable bracelet and then tie a bow on it. I'm going to wear it tomorrow to school and everything. It's simple but pretty. In fact, if you ever have one of those "Oh god, it's HER BIRTHDAY TOMORROW????"moments, you could probably make this in a snap.
Posted by Picasa

Tuesday, January 24, 2012

Day Twenty Four: Wire Wrapped Ring

I wish I could have come up with something better than this, but my craft supplies is in a sort of disarray at the moment. I found this thick purple wire and just made something really quick, using my homemade ring sizer. This ring really simply just is wire wrapped around four times.

I would say "Viola! Done" but that seems like an overstatement.
Posted by Picasa

Monday, January 23, 2012

Day Twenty-Three: Modge Podge Fabric Rings

What a tiring day! Ah! I started making a new clay project in my ceramics class. It's a miniature tea set. When I finish it, I'll post it as a bonus DIY. I've made two other projects so far, a nameplate for a friend and a bowl that looks like a person's head, cut in two. Neither of these is completely finished; I still have to glaze and refire them both, but they're at least all...formed and the like.
I am so happy to FINALLY be done with editing in Yearbook. Tomorrow we have a party planned to celebrate our success. We're all supposed to bring an interesting dish, but as of yet, I have no plans as for what mine will be. Perhaps potato chips. That's weird enough. :)

Okay, so start out with a round, flat button and some fabric. I made the ring backings myself, but that's another story to be posted later.
Trace the button onto the fabric with pen. Cut out shape.
Apply a liberal layer of modge podge to the flattest face of the button. Press on fabric. Be careful, it moves around quite easily.
Allow it to dry, at least mostly. After this is done, spread a thin layer of modge podge on top of the fabric.
Allow this to dry completely. Embellish fabric/button with chain or rhinestones or whatever. Use hot glue to attach it to the ring backing. Model.

Viola! Done.
Posted by Picasa

Sunday, January 22, 2012

Day Twenty-Two: Wire Wrapped Rock Ring

Today was a busy day. I went to my sister's play (Harvey), in which she was absolutely amazing. We went out to eat with she and her husband afterward at a little Mexican place, where the food was very very good. We didn't have a chance to go do laundry this weekend, so I'll be livin' on borrowed time (or, rather, clothes) for the next couple days until we get around to it, but I can work a sink and furnace vent, so I'll be just fine. :)
For this ring, I followed a tutorial on cutoutandkeep.net. If you go there and pull up a user search and look for Audrey Kitching, you'll find her instructions for this project. This is merely my version. The crystal I used was one that my friend Ethan gave me. He infused it with energy by washing it in salt water (sounds crazy, but if you run your fingers over the edge, you can seriously feel it buzzing a little).

Alright, so I used a post in my room that usually holds a model of the human heart to make the ring base. I wrapped wire around it because I know, from slipping a ring onto it, that it is quite similar to the size of my finger. My suggestion to you is to do the same, just find a circular object that your ring fits onto.
I chose my stone, and wrapped the wire around it five times. I secured the wire by wrapping it around itself underneath.

Viola! Done.
Posted by Picasa

Saturday, January 21, 2012

Day Twenty-One: Cassette Tape Dress

Since I technically started this project one day early, that gives me the allowance to skip one day. Well, yesterday I had a friend emergency, and I ended up spending the night at her house and most of the day. So I had a good reason to forgo it. I made up for it, though, by spending about three hours on this dress.

If you want to make this, start out with a dress, shirt, tank top, whatever. Just make sure it's not made out of sweater material and that it's not a hard surface, like shoes or a wall.
Paint one side of a cassette tape liberally.
Press it onto your fabric.
Touch up as you wish.
Repeat as many times as you want. Create a print, a logo, whatever.
Allow it to dry.

Viola! Done.
Posted by Picasa

Thursday, January 19, 2012

Day Twenty: Paint Splattered Flower Headband

Snowday today! Yay! I was so happy...I haven't slept for nights, so I was napping for a good bit of today. I also did some great work with crafting! I was actually experimenting with paint-covered flowers for a painting I'm doing when I made this. If you're wondering what the round-ish thing is at the bottom of my headband, that's not a button, it's my ear. It took me a few minutes of staring at it to figure it out, ha ha. This is great, because I've been in a darkish mood for the past few weeks, and I feel like this headband is a great combination of my two sides: girly and punky.
I recycled an old headband to make this. I turned its old flower into a hairclip, and I'm thinking that I might give it to a friend. I've started giving away a bunch of my DIY projects, simply because they have started to overtake my room.

Okay, so if you want to make this headband, it's really really simple.
Spread black fabric paint onto a piece of cardboard. Dip each flower into this paint, but be careful not to get too much on it. Less is more.
After all of your silk flowers are dipped, allow them to dry. Most people don't think to do this, and smeared paint looks really cheap.
While you're waiting for them to dry, prepare your headband. Mine is really two headbands in one, and if you don't have a headband like mine, then use a piece of felt as a base, and glue your flowers to it after they're dry.
Use hot glue to attach your flowers how you want them on your headband. Allow glue to dry. Wear.

Viola! Done.
Posted by Picasa

Wednesday, January 18, 2012

Day Nineteen: Cosmic Dress

Yes, I've been in love with the galaxy trend recently. I also have absolutely no money, so I've been doing my best to DIY the look instead of purchase it. This was a first attempt at a dye job, so bear with me. The stars are merely painted on.
Ahh, so I got my huge assignment back. Remember, the one I was stressed out about and working hard on? Well, I got a mere C+, after all of the work that I put into it. I was so bummed, but at the same time relieved that I hadn't gotten anything less.
Posted by Picasa

Tuesday, January 17, 2012

Day Eighteen: Smoke Fairies Tee

Haha, my current favorite band. They're really cool, sort of an acoustic irish folk band. Their voices are really operatic and beautiful. Sadly, they aren't incredibly popular, so you'd be hard-pressed to find an actual Smoke Fairies shirt. That being said, I took more of my homemade spraypaint and made a shirt of my own.

Cut out the shapes of whatever you want your shirt to say.
Put them down on your shirt. If you want to be sure that the paint doesn't bleed through, put something between the layers.
Take your homemade spraypaint (you HAVE to use that for this project, you can't use actual spraypaint) and spray directly down onto letters, not at an angle.
Once you've sprayed all you want to spray, take off your letters.
If you have any lace trim that you also want an impression of on your shirt, you can do that as well, but make sure to do a test run with it on a white piece of paper first.
Let it dry.

Viola! Done.
Posted by Picasa

Monday, January 16, 2012

Day Seventeen: Lace Print Pants

Okay, Ihad a ton of lace and nothing to do with it, so I mixed up a bottle of black spraypaint and went to town. This was after a long, stressful day that was absolutely no fun.
Also, I would like to wish my boyfriend a happy nine month anniversary. I love you, Aaron. Thank you for so much kindness and endless patience.

Lay pants flat.
Put lace over pants, as flat as possible.
Take your can of premixed spraypaint (from previous DIY) and spray fabric liberally on one pant leg.
On the other pant leg, spray fabric thoroughly, though not as much.
Flip pants over and repeat steps on back. A warning, your fingers will get cramped. I switched to using my thumb to push the button down near the end.
Allow pants to dry completely before even thinking of moving them.

Viola! You're done.
Posted by Picasa

Sunday, January 15, 2012

BONUS! DIY: Woven Ribbon Bracelet

When I was in New York City, I found a bunch of discarded bangle bracelets in a movie theater rest room. I, being the scavenger that I am, snatched them up and brought them home with me. I used two of them, and some leftover ribbon that my mother gave me when I was cleaning out her old cedar chest to make this. Notice my embarassing pajama pants in the background. :)
Posted by Picasa

Day Sixteen; Studded Bow Barette

Today I was incredibly busy editing my wardrobe, choosing which things to get rid of, which to cut into pieces and use again, and which to keep. My closet is now a lot easier to navigate, and I feel like I'll wear everything that I have in it. I was also attempting to clean and organize the rest of my craft supplies, but that's a battle that can not be won in one day. I didn't have a ton of time to get a DIY done, so I did this one really really quick.

Okay, so I cut a bow off of an old headband.
I glued on the studs.
And then I glued it onto a barette.
Then I wore it.


Viola! Done.
Posted by Picasa

Saturday, January 14, 2012

BONUS! Red and Black Rose ring

Yeah, so I finally got to see my friend who's been away in Paris, and it was great to. We went out to coffee with some of our other friends for a couple hours and played semi-violent card games. I don't care what they said, it still seemed like a frilly version of slapjack to me. :)
When I got home, I spent too much time laying on my bed staring at my smoke detector (which has a bow-like design as a vent...in fact, I made a half-hearted attempt to color it pink once) and ended up needing something to do. I took an old, neon pink cocktail ring that I never wear and used nail polish on it. I started with a thick basecoat of sparkly red, and drizzled black over it. It smelled quite strongly, but the end result is cute enough to be worth the fumes.
Posted by Picasa

Day Fifteen: Spades Statement Necklace

Alright, so I was cruising other DIY websites, and I found a DIY for a really really cute statement necklace. There are a few other projects on the site which I will probably duplicate, this is just the first one that caught my eye. What I don't enjoy about this website is that everywhere this girl could have possibly put something leather, she did. I'm just not a person who believes in using animal products like that. I don't mean any disrespect in saying that; that girl has some mad skills. For the original and her tutorial, go to: http://www.lovemaegan.com/2011/08/diy-gilded-gemstone-chain-tassel.html

First, I started with a button that had one loop on the back, and I found a big jump ring to put on it that was about half an inch in diameter.
I put eight strands of black chain on the open jump ring, four on each side.
After this was done, I took a long necklace chain and cut it open, and threaded each side onto the jump ring. Then I used a pair of needlenose pliers to close the jump ring.
I used a dot of hot glue on the back of the button to make it so that the button would not fall forward when I wear it.

Viola! Done.
Posted by Picasa

Friday, January 13, 2012

Bonus! More nail polish gems!

Ahh! Okay, so since I made the first necklace, I've been experimenting with the concept. I made these by painting the backs of pink and yellow stones with pink super sparkly nail polish. On the red ones, though, I put a coat of red polish before the pink. The sparkles gave them more fabulous dimension.
Posted by Picasa

Day Fourteen: Fangs Necklace

Snowday today! And as soon as I figure out how to fix my clay project too! Aha, I guess I'll just have to sketch it in the meantime. I've spent most of my day watching Jeffrey Sebelia's season of Project Runway, and I'm falling in love with his designs all over again. Especially that yellow plaid couture gown! God...he's talented.

Alright, so start out with a pair of vampire fangs. I found mine on the ground the day after Halloween. I think they were an early Christmas present. :)
Take a thick sewing needle and use it to poke holes in the back of the fangs, going through both layers of the plastic.
Take two jump rings and thread them through. This tends to be a bit tricky.
Measure out your chain. I did it just by draping it around my neck how it would lay naturally.
Use wire cutters to cut your chain. After this, thread them onto your jump rings, and close your jump rings with a pair of needle nose pliers or, if you don't have pliers, you can use scissors instead. That's what I had to do before I got a pair.
Unless you made your chain long enough to go over your head, now is the time to put in your clasp. Use wire cutters to cut the chain where you want your clasp to be. Put on clasp (duh).

Viola! Done.
Posted by Picasa

Thursday, January 12, 2012

Day Thirteen: Statement Earring

You can't see it very well in this picture, but the large object hanging with the chains looks like a heart. It's actually a ring that was crushed by a car. One of my best friends found it on a beach. The other two chains aren't equal in length, just so you know. I know the image is a bit unclear. I was actually watching the Brothers Grimm when I made these! It's not just beans, Will! It's real!

Get an earring hook and a jump ring, as well as any statement pendant that you want.
Take two necklaces you don't want, or a length of chain, and break them into different size pieces. I only used two strands, but don't be afraid to use as many as you want.
Open up the jump ring, and put all of the chains and your pendant on it.
Close the jump ring with a pair of needle nose pliers.
Put the jump ring on the earring hook.

Viola! Done.

Wednesday, January 11, 2012

Day Twelve: Tattoo Brooch

Hmmm...so today I had another killer headache, and I went out to dinner with my brother. He lives about an hour away, and we went to a place called Stromboli's, and I ordered (you'd never guess it) a stromboli. It was by far the best italian food I've ever had. After dinner we stopped at Meijer's, where I got some temporary tattoos. That's when I got the idea for this project.

Alright, so I started out using water to put a tattoo on a piece of paper, and I cut it out in the shape of an oval after it dried.
I traced the shape on the top of an egg carton, then cut out that shape too.
I glued the two together.
I used hot glue to add the white trim, using small amounts of glue on the back.
Burning my fingers many times over, I attached pieces of peacock feathers to the back of the brooch, but that part is optional. Personally, I think it would still look good even if the feather detail wasn't added.
I glued a pin to the back, over the backs of the feather details.
Finally, I used Modge Podge to go over the top to make sure that the tattoo wouldn't get scratched.

Viola! Done.
Posted by Picasa

Tuesday, January 10, 2012

BONUS DIY! Day Eleven part 2: Juicy Couture Inspired Flats

The Original

My DIY
Okay, so I saw these shoes online, and was infuriated by the price. They are $170. Ridiculous, I know. So, I made my own version with two silk flowers, acrylic paint, tape, the base shoes and modge podge. If I had had some grey shoes, they would have looked closer to the originals, but sadly I had none. The only flats I had were teal, so I chose a nice green color for them, because I knew it would compliment the base color better. The tutorial (with pictures) will be posted on cutoutandkeep.net sometime tomorrow, if anyone is interested.

Day Eleven: Nicole Miller inspired bracelet

I saw an ad for bracelets rapped in fabric, and they were 3 for $25. I laughed out loud, because I've been making ribbon wrapped bangles for months. After seeing them, I used some old fabric to wrap an old bangle bracelet that I had. I think it looks really cute. I've been trying to get into duplicating designer looks. This is my second so far. I think it looks pretty snazzy. :)
I turned in that huge essay today. I hope that I get a good grade on it, especially after all the work and hours I put into it. Wish me luck!

Alright, so I figure this is self-explanatory, but it feels like a tradition with these posts. Start out with a long piece of fabric, it doesn't matter how wide it is. If it's about half a yard or so, it'll work.
Wrap the fabric tightly around the bangle until it meets itself.
Tie excess into a bow.
Secure bow with thread or glue.

Viola! Done.